Contents
Here's the thing nobody tells you when you start learning RL for robotics: the "hardware" question actually splits into two completely different purchases. One is the compute you need to run simulations fast. The other is the physical kit you eventually want to test a trained policy on. Conflating the two is how people either overspend on a GPU they didn't need yet, or buy a robot arm before they've simulated anything.
I went down this exact rabbit hole after finishing the RL fundamentals and wanting to actually see a policy move something in the real world. Turns out the simulation side and the physical side have completely different shopping lists, and nobody organizes it that way. Let's fix that.
By the end of this guide, you'll know exactly what to buy for simulation work, what to buy when you're ready for real hardware, and — more importantly — what order to buy it in. IMO, buying in the wrong order is the single most common way people waste money on this hobby :)
Part 1: Simulation Hardware (What You Actually Need First)
Before touching a single physical robot, you'll spend most of your early RL time in simulation — training policies in MuJoCo, PyBullet, or Isaac Sim, where failure costs nothing. This is where your money should go first.
The Compute Question
A decent consumer GPU (think RTX 4070-class or better) handles most beginner-to-intermediate RL training comfortably — you don't need a data-center card to train CartPole or even mid-complexity robotic arm simulations.
NVIDIA's Isaac Sim and Isaac Lab are free, purpose-built simulation platforms for robotics RL, and they're genuinely worth setting up before you buy any physical kit at all.
No local GPU? That's fine. Cloud GPU rental exists specifically for this — spinning up compute for a training run, then shutting it down, is often cheaper than buying hardware you'll use intermittently.
My honest take: don't buy a GPU specifically for this hobby until you've actually hit a wall with what you have. Plenty of meaningful RL learning happens on modest hardware; the "I need better hardware" feeling often shows up before it's actually true.
Software-Side Simulation Tools Worth Knowing
MuJoCo — the physics engine most academic and research RL work standardizes on, free and open-source.
PyBullet — a lighter-weight alternative, genuinely fine for beginner projects and quicker to get running.
Isaac Sim / Isaac Lab — NVIDIA's more heavyweight option, built specifically for realistic sim-to-real robotics workflows.
Start with PyBullet or MuJoCo before jumping to Isaac Sim. The learning curve on Isaac Sim is real, and you don't need photorealistic physics to learn the fundamentals of training a walking or grasping policy.
If you want to understand the algorithms running in these simulators, our reinforcement learning frameworks guide covers Stable-Baselines3, RLlib, and CleanRL — the libraries that sit between your code and the simulation.
Part 2: Physical Kits for Sim-to-Real Experimentation
Once a policy actually works in simulation, the fun (and humbling) part begins: watching it fail in slightly different ways on real hardware. Here's what to actually buy, organized by budget and goal.
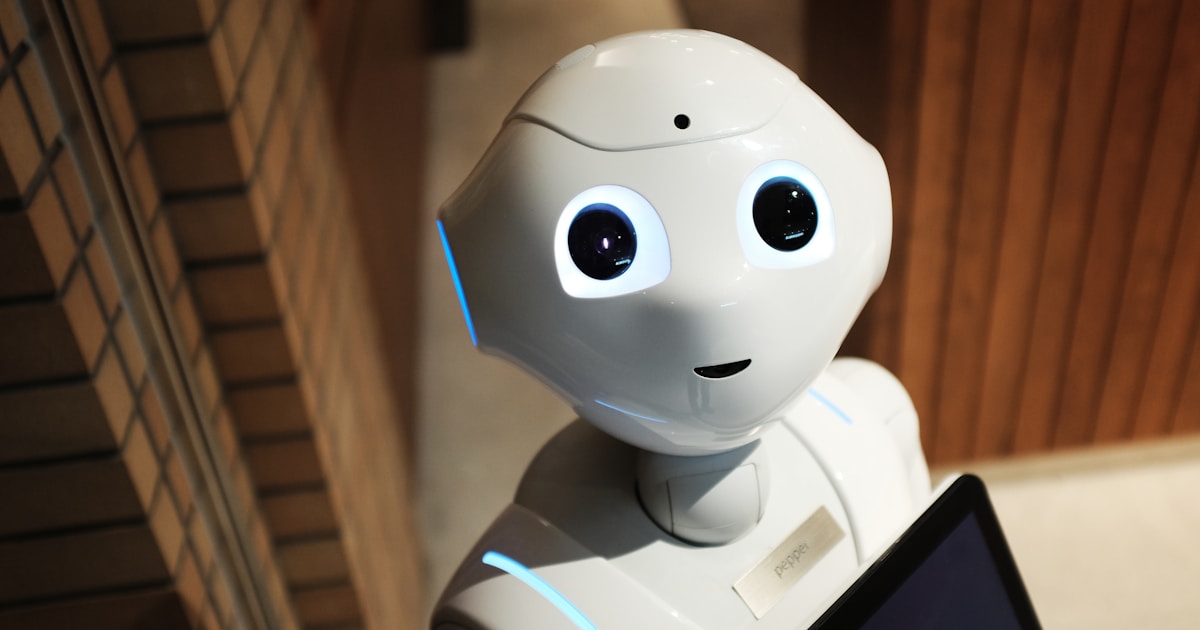
Figure 1: From simulation GPUs to physical robot kits — the complete buying path for robotics RL
Entry-Level: Raspberry Pi Robot Kits
If your goal is learning how a trained policy behaves on cheap, replaceable hardware, Raspberry Pi–based robot kits are genuinely the smartest starting point.
PiCar-X (SunFounder) — an AI video robot car built around a Raspberry Pi, controllable from your phone or computer and programmable in Python or Scratch, with a grayscale module for line tracking and cliff detection.
Raspberry Pi 5 Starter Kit — not a pre-built robot, but the actual hardware platform used in real robotics research, capable of running ROS 2 and computer vision models directly.
Raspberry Pi supports Python, OpenCV, and common ML libraries out of the box, making it one of the most accessible platforms for bridging basic motor control into actual AI robotics work.
This is where I'd point any beginner first. You get real sensors, real Python control, and a genuinely low cost of failure if something breaks — crashing a $65–150 kit stings a lot less than crashing anything more advanced.
Budget Pick: ELEGOO Smart Robot Car Kit
For teaching yourself the fundamentals of sensing and autonomous navigation without spending much, the ELEGOO Smart Robot Car Kit V4 consistently gets recommended as the budget entry point.
Under $65, teaching ultrasonic sensing and basic autonomous navigation.
Uses genuine Arduino-compatible hardware rather than a simplified toy platform, so what you learn transfers to real embedded robotics concepts.
A reasonable first project even before you've finished a full RL course — it builds intuition for sensors and actuators that RL theory otherwise treats as abstractions.
Mid-Range: Robotic Arms for Manipulation Tasks
Once basic navigation feels solved and you want to try manipulation — grasping, stacking, precise positioning — you'll need something with actual degrees of freedom.
MyCobot Pro 630 — a 6-axis robotic arm with Python and ROS compatibility, plus an optional AI vision module, positioned as a leading option for adults wanting real automation experiments beyond a toy platform.
Entry-level arms in this category generally run in the low thousands of dollars, a real step up in cost from the Raspberry Pi tier.
Look specifically for ROS/ROS2 compatibility — this determines whether the simulation tooling you already learned actually transfers to the physical arm, or whether you're stuck writing custom integration code.
Advanced: Quadrupeds and Humanoid Platforms
If bipedal or quadruped locomotion RL specifically interests you — the closest hobbyist analog to the walking-robot demos you've seen from research labs — a couple of platforms stand out.
TonyPi Pro — runs on Raspberry Pi 5 with real-time face, hand, and gesture tracking via MediaPipe, 18 high-voltage bus servos, and support for tasks like stair climbing and autonomous ball kicking via PID control.
It ships pre-assembled but is fully open-source, meaning you can swap in your own trained policy instead of relying purely on its stock control logic.
This tier is genuinely the "graduate project" of hobbyist robotics RL — not where anyone should start, but a legitimate target once the fundamentals are solid.
Quick Comparison Table
| Item | Category | Price Range | Best For |
|---|---|---|---|
| NVIDIA RTX 4070 | Simulation compute | $500–800 | Local training, avoiding cloud costs |
| ELEGOO Smart Robot Car V4 | Entry-level physical kit | Under $65 | First sensors + navigation project |
| PiCar-X (SunFounder) | Entry-level physical kit | ~$90–180 | Python-controlled AI robot car |
| Raspberry Pi 5 Starter Kit | Physical platform | ~$100–260 | Real ROS 2 / CV development base |
| MyCobot Pro 630 | Mid-range manipulation | Low thousands | Real arm manipulation with ROS |
| TonyPi Pro | Advanced humanoid | ~$700–1,000 | Locomotion RL, gait research |
Common Mistakes People Make
I've either made these myself or watched someone else make them while getting into this hobby.
Buying physical hardware before simulating anything. You'll waste real money debugging problems that are far cheaper and faster to iterate on in simulation first.
Buying a kit that only supports drag-and-drop coding. If it doesn't progress to Python or C++, you'll hit a ceiling within weeks once you actually want to run a trained RL policy on it.
Jumping straight to an expensive robotic arm as a first purchase. A $65 ELEGOO car teaches the same fundamental sensor-and-actuator concepts a $3,000 arm does, at a fraction of the risk if you crash it.
Overbuying GPU compute before hitting an actual bottleneck. Most beginner and intermediate RL projects run fine on modest consumer hardware or short cloud rental sessions — don't pre-optimize a problem you don't have yet.
Ignoring ROS/ROS2 compatibility when choosing an arm. Skipping this means your simulation-trained policies won't transfer cleanly to the physical platform without extra integration work.
A Practical Buying Order
If you're starting from zero, here's the sequence that actually makes sense instead of buying everything at once.
Start purely in simulation using PyBullet or MuJoCo on whatever computer you already own.
Rent cloud GPU time if training gets slow, rather than buying new hardware immediately.
Buy an ELEGOO or PiCar-X kit once you want to see a trained policy behave on real hardware for the first time.
Move to a Raspberry Pi 5–based platform if you want to run ROS 2 or heavier computer vision models directly on the robot.
Only consider a robotic arm or humanoid platform once you've genuinely outgrown what a basic navigation kit can teach you.
Don't skip straight to physical robotics as a total beginner. Even experienced teams prototype extensively in simulation first — there's no reason to risk breaking real hardware while you're still learning what a reward function even is.
For a deeper dive into RL algorithms that power these robots, our beginner's guide to RL for games and robotics covers DQN, PPO, and the core loop that makes everything work.
Wrapping This Up
Robotics simulation hardware and physical kits solve two different problems: simulation compute gets you fast, cheap iteration on training a policy, while physical kits let you actually confront the sim-to-real gap you've read about. Buying in that order — simulate first, then go physical — saves you money and frustration.
Remember that a $65 ELEGOO kit and Python-friendly Raspberry Pi platform teach the real fundamentals just as well as expensive arms do, and don't feel pressured to buy heavyweight GPU compute before you've actually hit a wall with what you've got. FYI, the jump from "trained in simulation" to "works on real hardware" is genuinely the most humbling and educational part of this whole process — budget hardware included :)
Now go pick the cheapest kit on this list and actually break it a few times. That's a far better use of your first robotics budget than jumping straight to the expensive arm you've been eyeing.